
How to configure Disaster Recovery (DR) setup
Purpose:
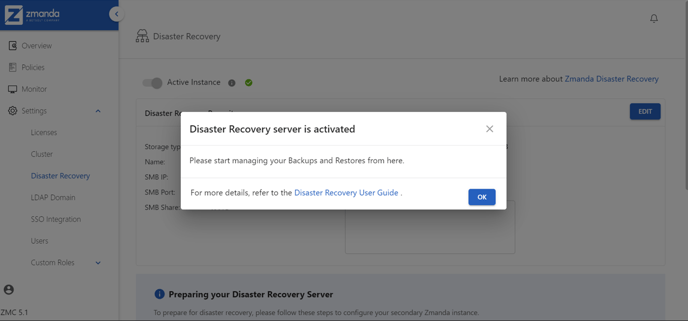
To ensure correct display of Disaster Recovery (DR) repository details on the Zmanda Management Console (ZMC) UI after a restore operation on the Disaster Recovery server.
Solution: Implement the following key steps to ensure DR readiness:
-
License both servers: Once you login to ZMC, obtain the license by providing both primary and secondary server Mac IDs. Upload the license to both servers.
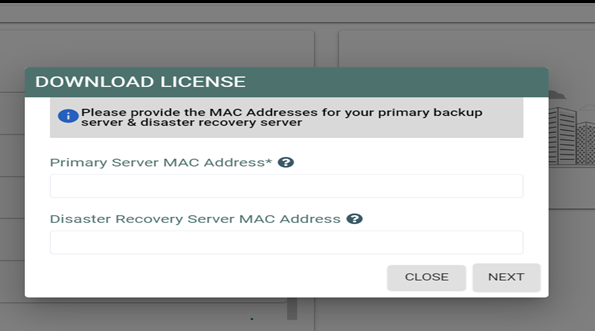
Note: Only one server will be active at a time.
2. Set up a secondary instance (DR server): Deploy a server with identical specifications as your primary server.
Note: Do not configure anything on the secondary instance. Keep it documented and ready for activation in case of a disaster.
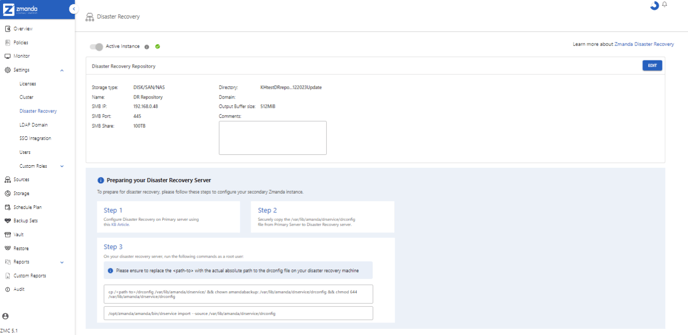
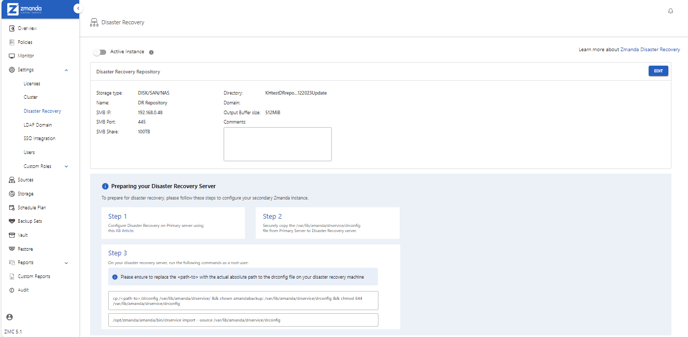
3. Configure a DR repository: Choose a physically separate location (ideally off-site) for the DR repository. Configure an SMB share on a third-party server. Provide the server IP, username, and share details for repository access.
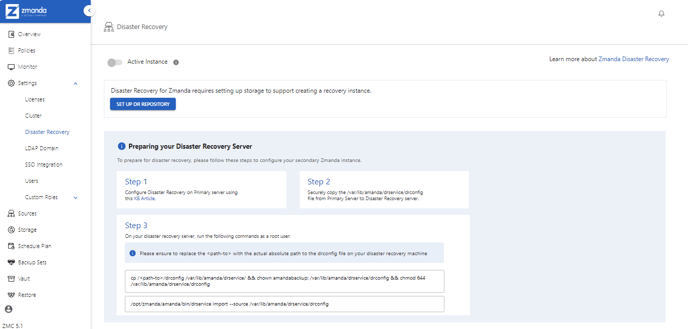
4. Set up the DR Repository: The drconfig file contains critical DR information. Store it securely in a safe location and treat it with the utmost care.
Copy the drconfig file from the primary server's /var/lib/amanda/drservice/ directory to the secondary server.
5. Configure DR Configuration:
-
As a root user, run the following commands on the DR server to set up the correct permissions for the drconfig file:
cp /<path-to>/drconfig /var/lib/amanda/drservice/ && chown amandabackup: /var/lib/amanda/drservice/drconfig && chmod 644 /var/lib/amanda/drservice/drconfig
Replace the /<path-to>/ with the actual absolute path to the drconfig file.
Ex: /home/sysadmin/drconfig
-
Run the following command on DR server to import the DR configs:
/opt/zmanda/amanda/bin/drservice import --source /var/lib/amanda/drservice/drconfig
6. Refresh the DR Page: After a restore or configuration, simply refresh the DR page on your backup server. This updates ZMC with the correct repository details.
You can configure your DR setup by following these steps. For detailed instructions, refer to the DR user guide.