Using Vawlt as a Storage Target in Zmanda provides an extra level of Data Resilience and protection.
What is Vawlt?
Vawlt enables the creation of virtual storage services adapted to your specifications, which are easy to integrate with both new and existing data storage strategies. The data is stored in multiple cloud providers simultaneously, ensuring levels of security and reliability unmatched by any other storage solution in the market. Click here to learn more.
How does it work?
There are two ways to back up data to Vawlt using Zmanda. The first is to use Vawlt's Desktop Interface, which Zmanda will see as a directory in the local filesystem. The second is to use Vawlt's S3 Compatible Interface. Here we will cover both.
We installed the Zmanda Server and Vawlt Application on the same Ubuntu 20.04 Desktop Image. The Desktop interface allows for a simple user experience, however, everything can be done from the command line if desired. Be sure to check Zmanda and Vawlts' compatibility matrices if you are installing them on the same system.
Desktop Interface
Pre-requisites
-
Zmanda Backup Server and Vawlt Application installed on the same system
-
At least one active Vawlt volume - created within the Vawlt web console
-
Recommendation - the volume type should be set to Warm
Steps
1. In the Vawlt Application, go to Settings, and then to Interfaces
2. Click on Advanced configuration. A menu will appear
3. Under the Desktop tab, check the box next to Allow other users to connect mount-point and click Save Changes
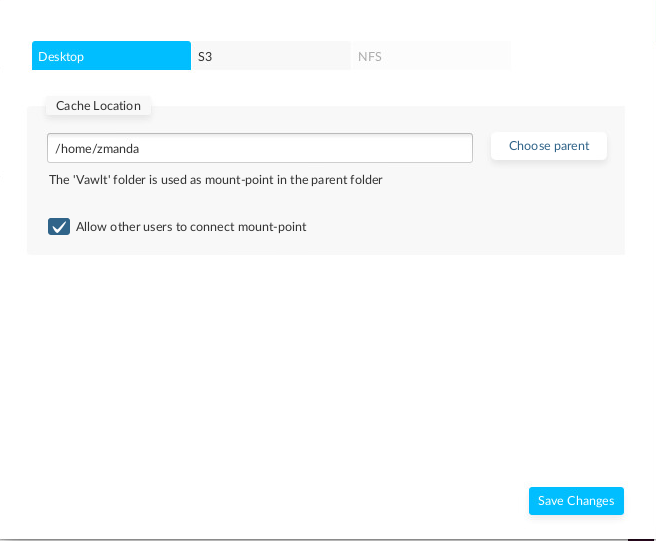
You will be prompted to uncomment a line in the /etc/fuse.conf file. You may do so using vi or nano with root permissions
vi /etc/fuse.conf
nano /etc/fuse.conf

#Uncomment this line in the file:
user_allow_other
4. After saving the changes, you may go to the Zmanda Management Console (ZMC) and add the path to the Vawlt volume as you would with any other NAS or disk storage
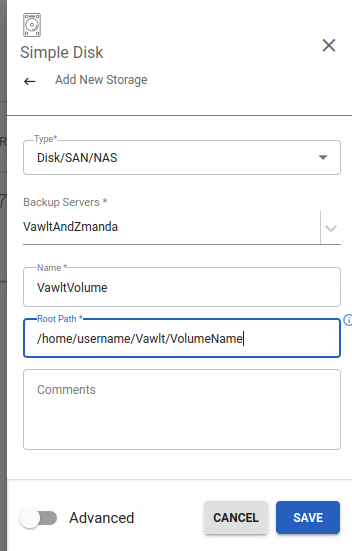
5. Click SAVE. The storage will appear, and you will be ready to create a backup set, add sources, and back up your data to Vawlt
S3-Compatible Interface
Pre-requisites
-
Zmanda Backup Server installed and licensed
-
Vawlt installed and licensed (does not need to be the same system as Zmanda)
-
At least one active Vawlt volume - created within the Vawlt web console
-
Recommendation - the volume type should be set to Warm
Steps
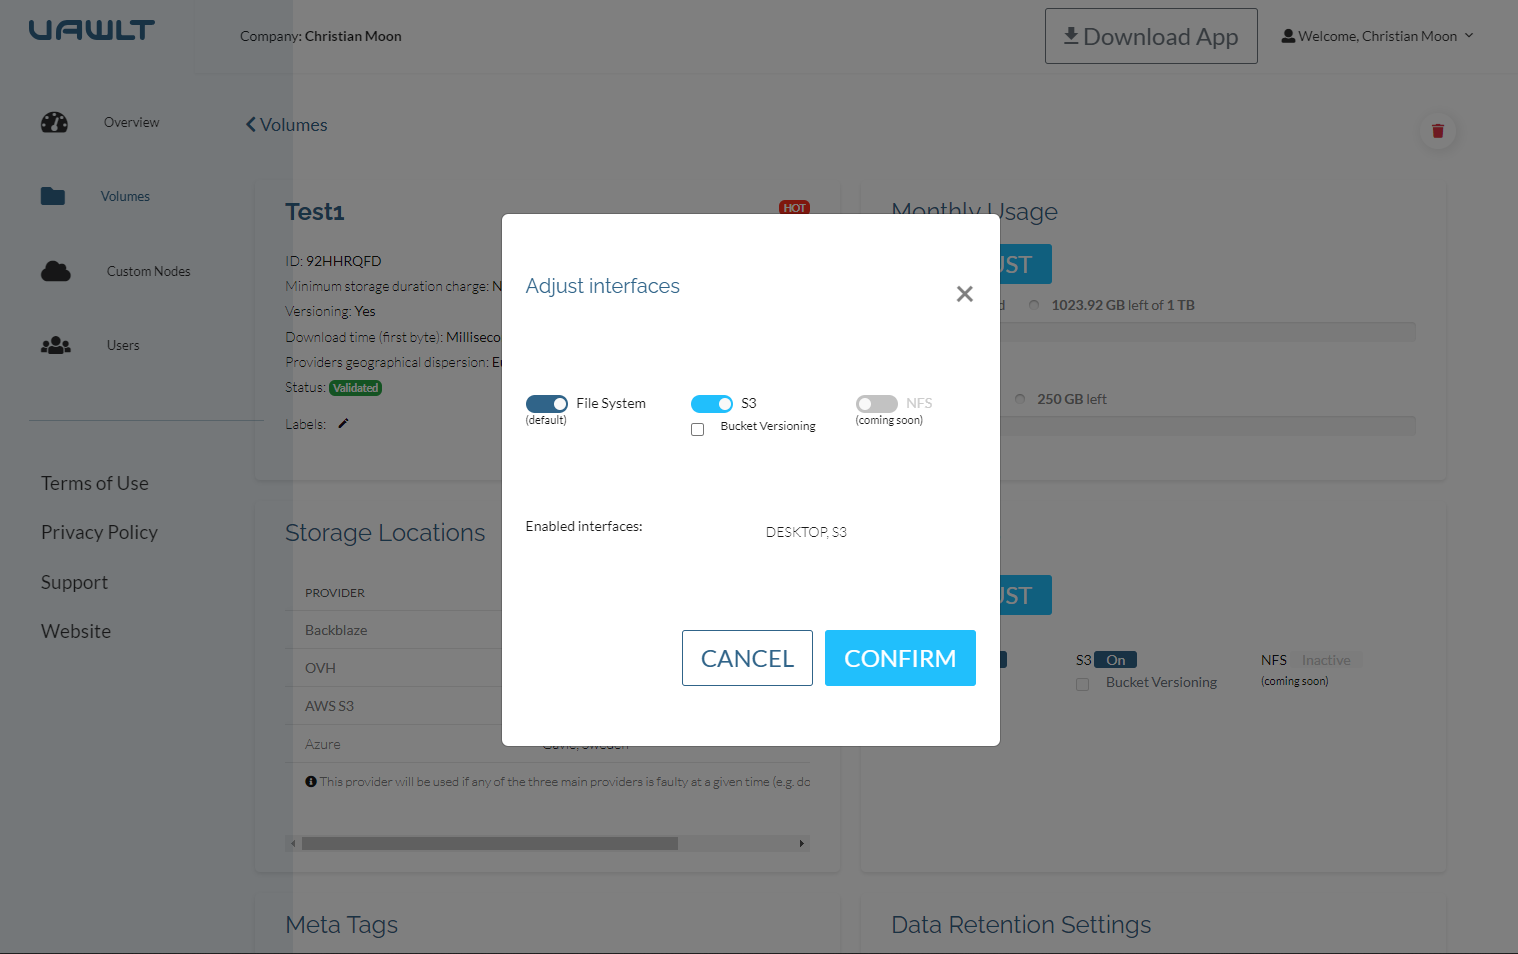
1. In the Vawlt Web Console, go to the Volumes tab in the left navigation bar and select the volume that you wish to use with Zmanda under My volumes
2. Go to the Interfaces box and select ADJUST. Toggle on the S3 interface, and uncheck Bucket Versioning. Click Confirm
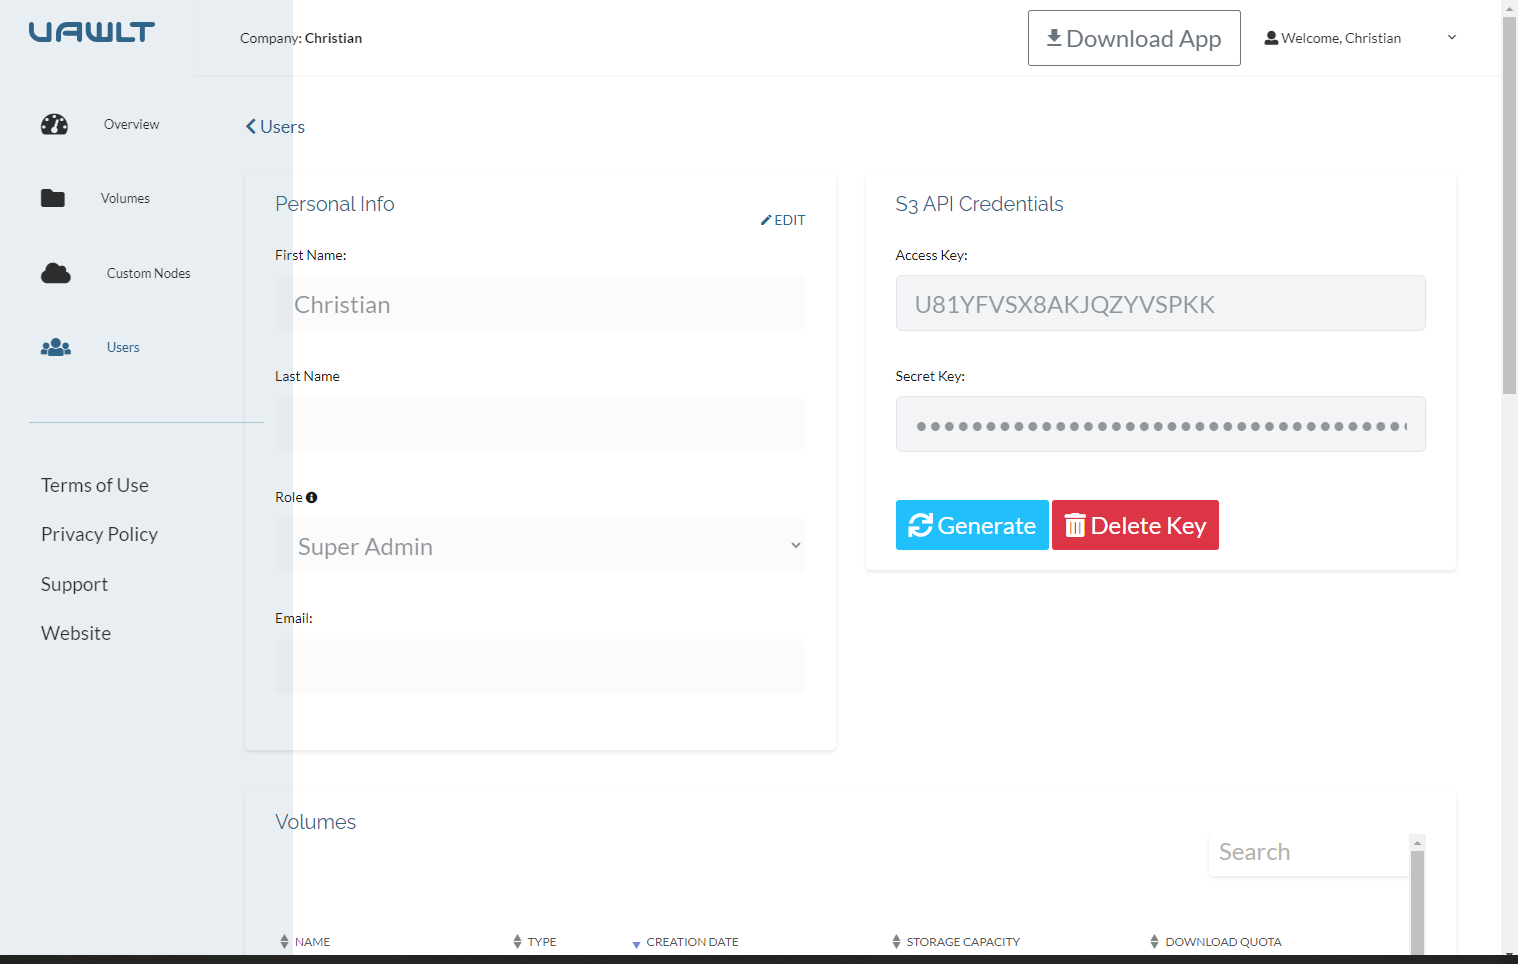
3. Go to the Users tab in the navigation bar and select the user whom you wish to generate S3 API Credentials for
4. In the S3 API Credentials box, click Generate, and record the Access Key and Secret Key in a secure location
5. Open the Vawlt Application and go to Settings
6. In the Interfaces menu, click Advanced configuration
7. Go to the S3 tab and under Bucket management, make sure the check box is selected and says Enabled

8. Make a note of the port number(s) that appear next to the volume names - you will need these for the next steps. You may also configure SSL authentication on this page, although it is not required. Click Save Changes
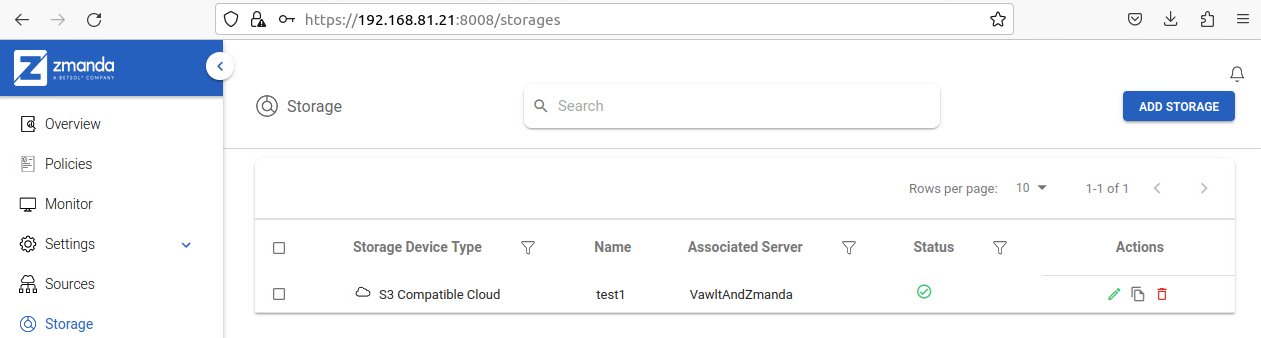
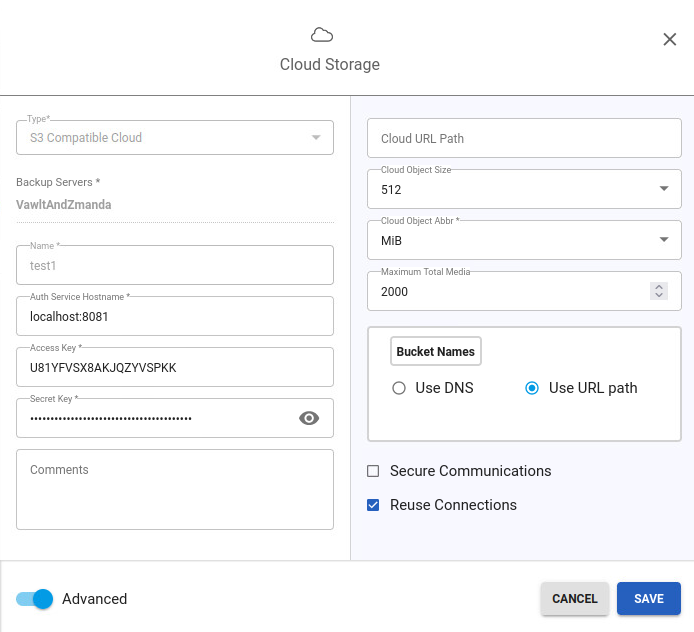
9. In the Zmanda Management Console, click on Storage->Add Storage->Cloud Storage->S3 Compatible Cloud
10. Select the Backup Servers from the drop-down and assign a name. We recommend using the name of the Vawlt volume
11. In the Auth Service Hostname field, enter the IP address of the server where Vawlt is installed followed by the port number that you recorded in Step 7. If Vawlt is installed on the same server as Zmanda, you can input localhost:<port#>
12. Enter the Access Key and Secret Key generated in Step 4
13. If you enabled SSL Authentication, leave the Secure Communications box checked. Otherwise, uncheck it
14. Select Use URL path and click SAVE
15. The storage will appear, and you will be ready to create a backup set, add sources, and back up your data to Vawlt.